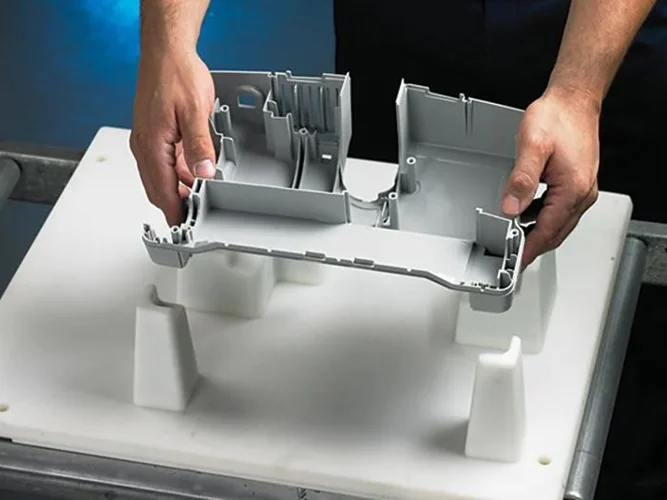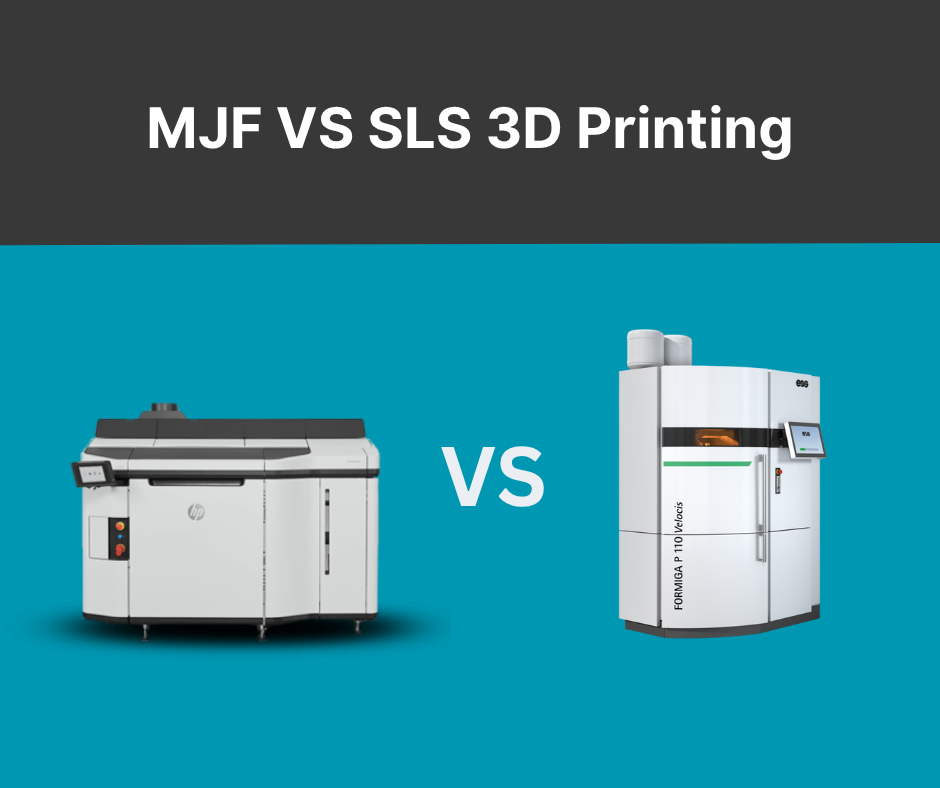
After completing the 3D printing process, SLS (Selective Laser Sintering) and MJF (Multi Jet Fusion) parts often require post-processing to achieve the desired finish and performance. These methods help improve the surface quality, mechanical properties, aesthetics, and sometimes even the electrical conductivity of parts. Whether you’re looking to enhance strength, add color, or achieve a specific surface texture, post-processing is essential for making parts production-ready. Let’s discuss post-processing for SLS & MJF parts.
1. De-powdering and Bead Blasting
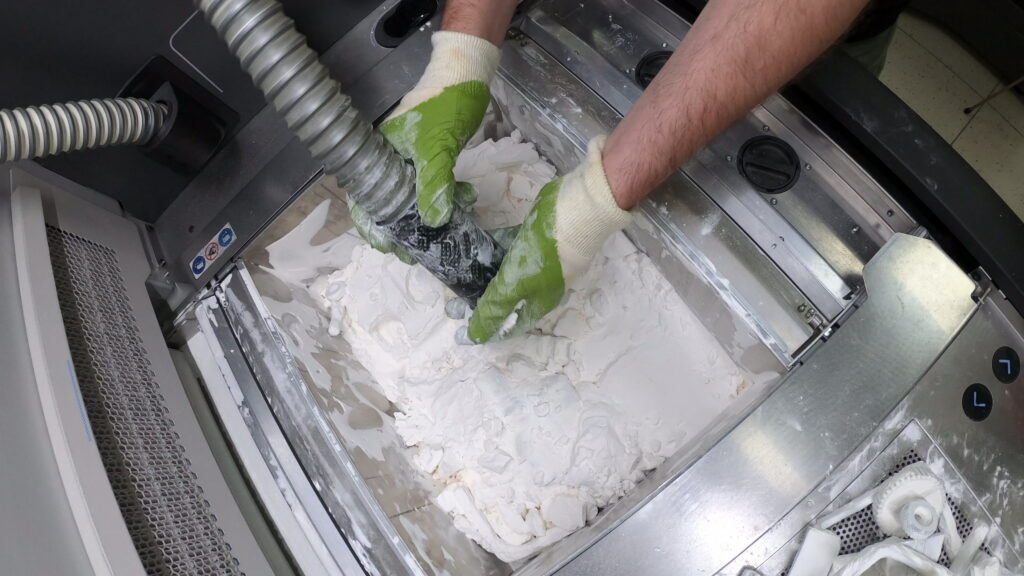
The initial post-processing activity when it come
s to SLS and MJF parts is always the removal of the excess powder. Both processes involve powdered materials such as nylon and after the printing is done, the parts are usually replete with unused powder. For SLS and MJF, you do not require support thus no need to take off the supports. After cooling the parts are brushed and cleaned to remove loose powder.
Bead blasting is frequently the subsequent process after the removal of powder. This is done where high-pressure air is used to direct tiny glass beads to the parts in question. The remaining powder after painting is removed by beading blasting to achieve the best and uniform product surface. This technique gives a low sheen or in other words a matte/satin finish, ideal for complex and intricate components. These components may be further painted or coated later.
2. Media Tumbling
If the finished item requires a smoother polish, then media tumble (or vibro-polishing) comes next. In this process, parts are mounted on small ceramic chips in a tumbler. When the tumbler is in motion, the ceramic chips give the part a fine abrasion and give it a dull, satin finish. This method is most appropriate for the production of parts with large flat surface areas because it can blur finer areas.
However, it’s important to keep in mind that media tumbling can alter the size of parts, particularly when they have fine features, as it tends to round off sharp edges and smooth out small details. It blurs all the edges and makes rough finishing of the surface so it is not adequate for making fine and accurate items with small clearances.
3. Dyeing
Dyeing is another color dispersion technique commonly used for SLS and MJF parts. This process is relatively faster and less costly making it idle to provide your parts with stunning, even color. It is placed in a heated dye bath which moistens the outer skin up to 0.5mm beneath the surface of the part being treated. Dyeing works especially well for a nylon material such as PA12 can be used in both SLS and MJF printing.
Dyeing on the other hand does not alter the size of the part and is applied to near-architectural geometries. Still, it’s critical to note that the dye only penetrates the outer layer of the part. It is The color gradually decreases, and disappears completely after some time, especially in areas that are most frequently exposed to environments. In addition, dyeing does not offer a high-gloss finish but flexibility in terms of color, particularly on SLS parts.
4. Painting and Lacquering
The technique of painting and lacquering is efficient for elements that require a finer finish or improved wear resistance. Both techniques provide the possibility to receive a high gloss, metallic, or other custom surface. Lacquering also has advantages such as maximizing the ability of the coated surface to withstand moisture, increase surface hardness, and wear resistance respectively. However since SLS and MJF parts have an inherently rough surface finish, it’s advised to apply several thin layers of paint. Moreover, this method avoids problems such as running and uneven coating.
Spray painting and lacquering also make the part look even better but because of the porosity of printed parts, it may be necessary to apply thin layers of paint to prevent dripping. You should be able to get a smooth and long-lasting finish when you apply 4-5 thin layers. It makes painting and lacquering the best solution for both ordinary and decorative components.
5. Metal Coating
In some cases, it is desirable to increase the SLS or MJF part’s mechanical properties and electrical conductivity. In this case, metal coating through electroplating should be regarded as a good solution. It involves giving the part an additional layer of metal such as nickel or chrome or gold in a thin layer of metal. The metal particles are drawn to the surface by an electric current intensifying the part strength as well as conductive features.
The coating can, however, greatly improve the performance and aesthetics of a part but, at the same time, increase part cost and weight. Moreover, various metals cannot be electroplated on the 3D-printed parts. Thus, the material selection is somewhat confined. However, in case the part has to be stronger or otherwise needs to be shielded electrically, the metal coating is a good exercise.
6. Chemical Vapor Smoothing
Chemical vapor smoothing (CVS) is the other post-processing technique used to signify the surface finish of the 3D-printed parts. The process works where CVS exposes the part to a heated vapor which slightly melts the outer layer of the particular material. This action flattens the layer line and gives the final parts a shiny polished look. CVS is especially effective for complicated shapes or areas that are hard to reach.
A major benefit of CVS is that it does not need to have sight of the line. This makes it ideal for making smooth even complex parts. However, it’s important to note that this approach may slightly reduce the ability to highlight high-contrast features and fine details, such as sharp corners. The outcome of CVS leads to smoother parts and it is not optimum for designs with thin walls and fine details.
Summary
The final stages of SLS and MJF parts are post-processing. These processes help you to prepare the part for final use, modify its color or surface finish, and many other things that enable users to get parts that meet certain standards. And, if you select appropriate post-processing techniques, your 3D-printed parts will comply with your project’s requirements.
From just washing up to anodizing, metal plating, or chemical vapor polishing, there is a variety available to guarantee that you get the best outcome for your particular task. What you need to bear in mind is that post-processing is going to take more time and money. But it is all worth it. If you are serious about proceeding to production runs, an instant quotation for your parts is only a click away here!